After years of doing my own acrylic nails while enjoying my favorite shows, I’ve perfected the art of the at-home manicure. Here are my top tips for achieving salon-quality results.
#1 Perfect Nail Bed Fit Is Non-Negotiable
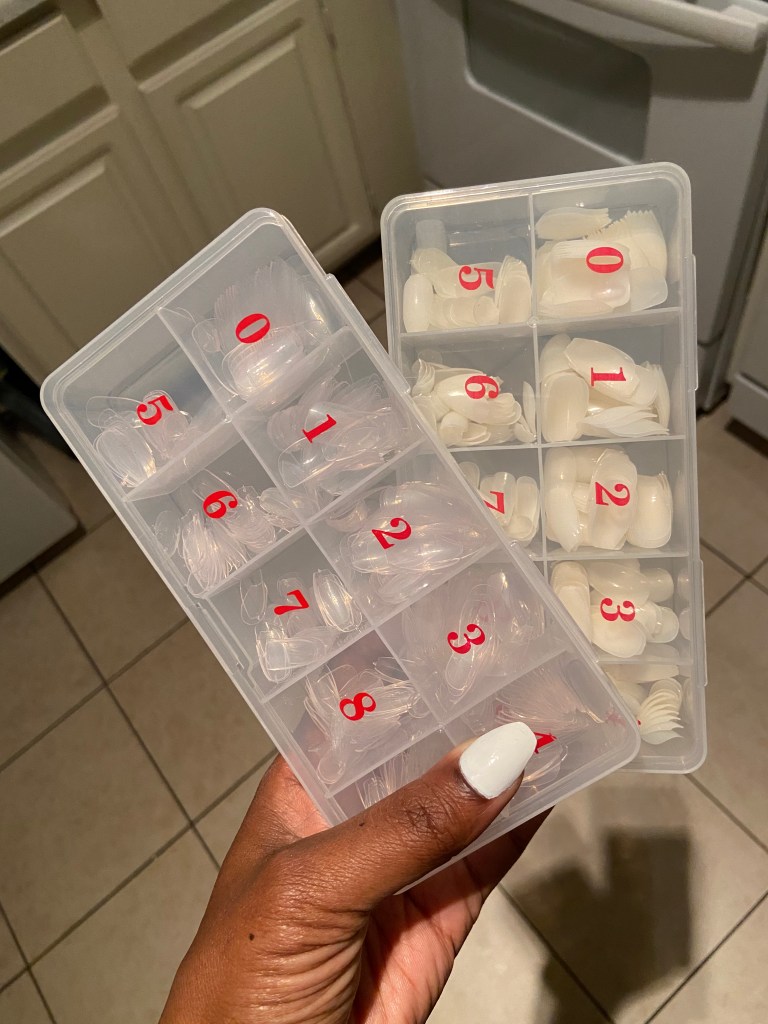
Finding acrylic nails that match your nail beds precisely is crucial. Different brands cater to varying nail bed sizes – too small and your natural nail will show, too large and the adhesive will contact your skin. Through experience, I’ve found Broadway and Kiss offer reliable options with diverse sizing. Properly fitted nails also resist splitting and maintain their shape longer.

#2 Strategic Shape Selection
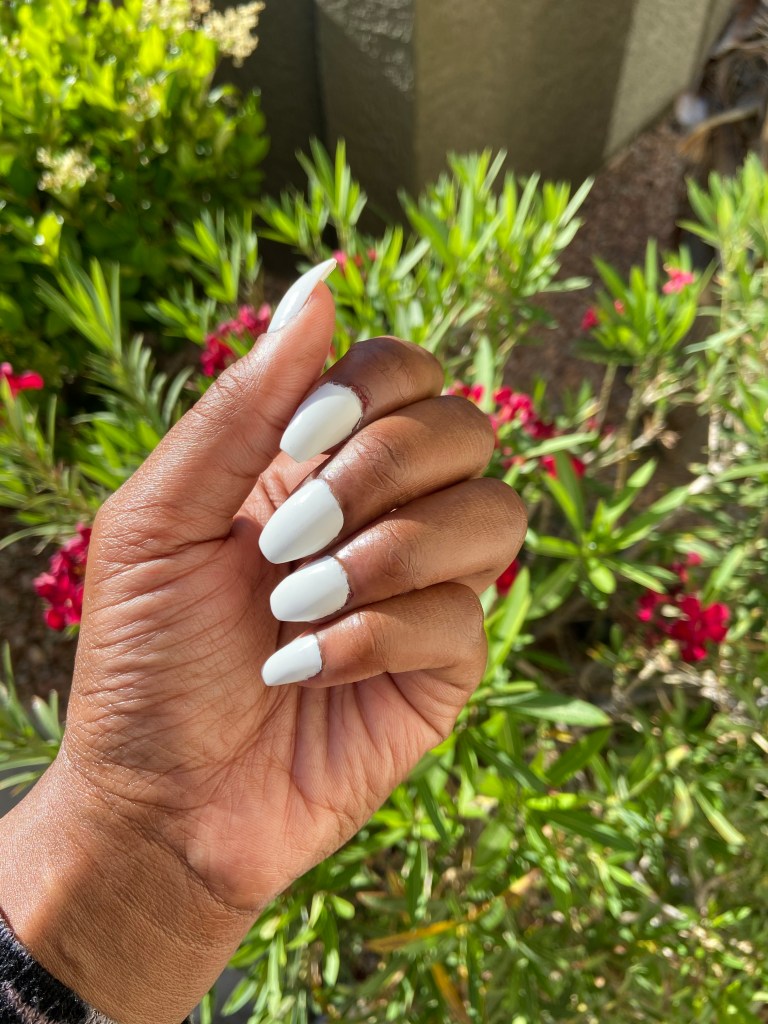
Your nail shape should complement both your hand structure and daily activities. As a content writer, I’ve discovered that medium-length oval or coffin shapes enhance my long fingers while allowing comfortable typing. Consider how your chosen shape affects hand appearance and functionality – square tips can make hands appear broader, while stilettos may impede common tasks.

#3 Quality Adhesive Makes All the Difference
Beauty Secrets nail glue has been my go-to for over ten years, outperforming all alternatives. Its gel-like consistency prevents running and air bubbles, making application precise and lasting. A quality adhesive ensures your manicure stays intact for 1-2 weeks without lifting – essential for both aesthetics and cost-effectiveness.
#4 Strategic Color Selection
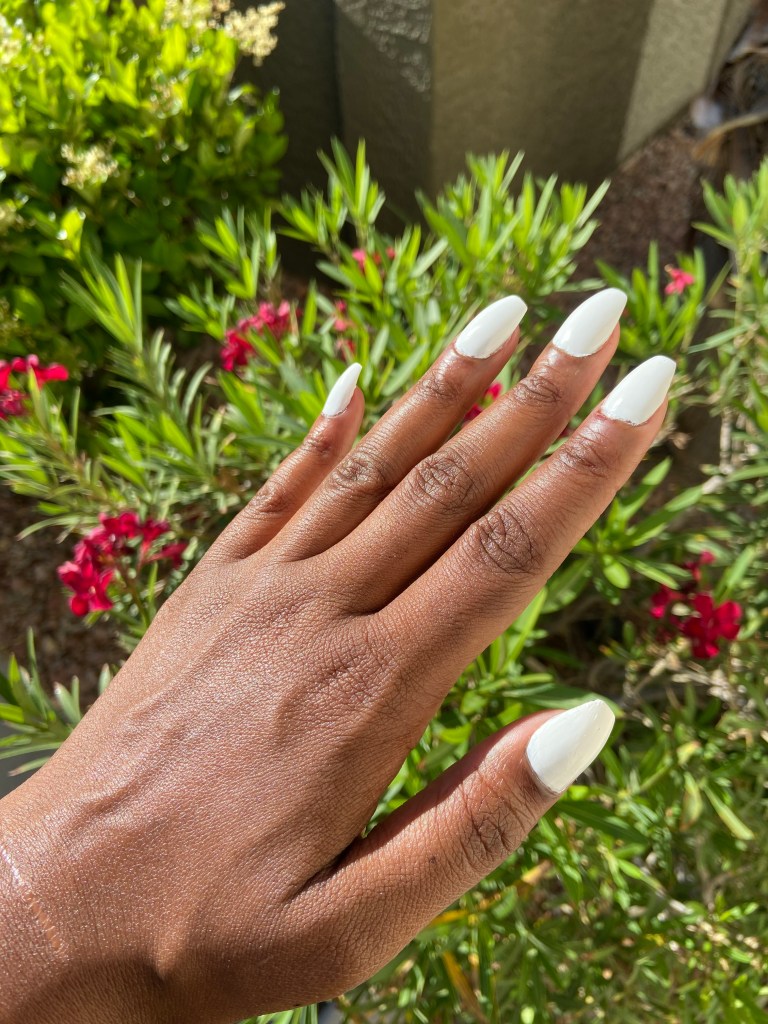
Your polish choice should reflect both personal style and practical considerations. White polish creates a clean, sophisticated look on darker skin tones, while neutrals and soft pinks offer universal appeal and professional versatility. Consider how different shades interact with your skin tone – I’ve learned that neon colors work better on toes, while certain reds can age hands.
#5 Application Mastery
My refined technique ensures consistent results:
- Select 10 perfectly-sized nails
- File natural nails for optimal adhesion
- Apply 1-2 drops of glue centrally
- Press for 10 seconds, focusing pressure in the middle to prevent air bubbles
- File and buff acrylics as needed
- Apply polish and top coat (unless using pre-designed tips)
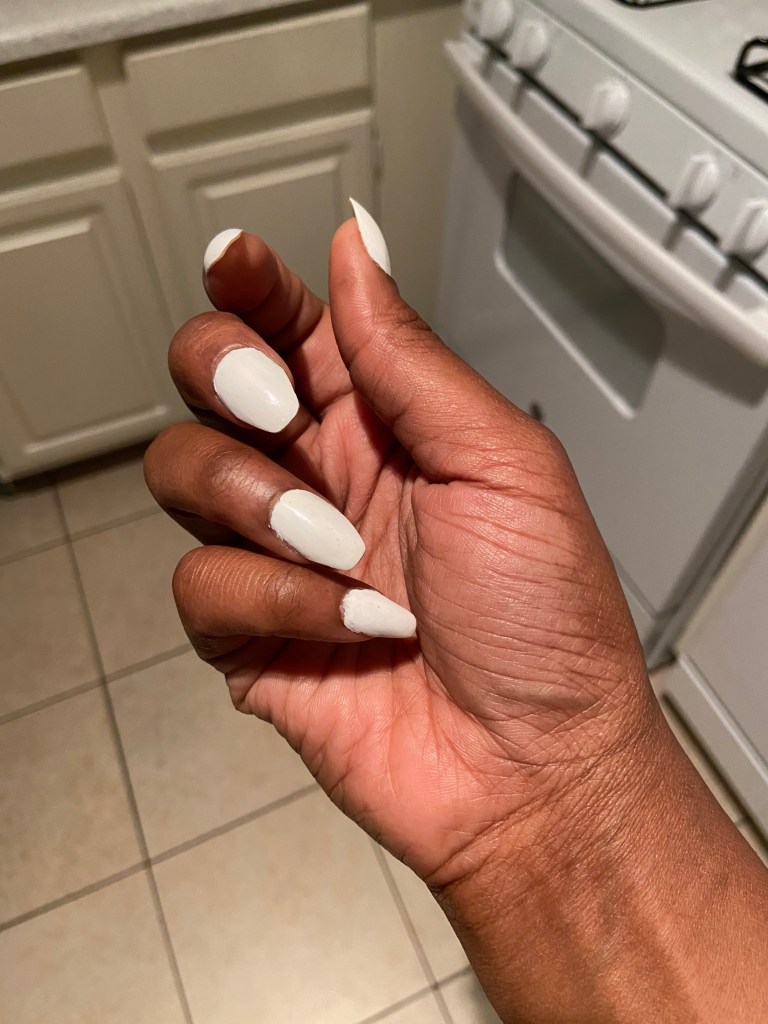
Remember, any air bubbles indicate poor contact between surfaces, potentially leading to lifting. If bubbles occur, either accept potential lifting or start fresh with acetone removal.
This relaxing self-care ritual becomes more enjoyable and effective with practice. Share your own techniques in the comments!
